Starting an Update (Registrations)
Topics
Starting an update
Admin Collaborators can start an update through the Project, their “My Registrations” Page, or directly from the Registration Overview page.
Read More to learn about contributor permissions and they relate to updating.
From the project
Open your project

Click the “Registrations” tab.

Make sure you are on the “Registrations” section.

Click the “Update” button located on the bottom of the registration card you want to update. You will only see “Update” for the registrations you are an Admin Collaborator on.

A popup will show informing you that only responses to the registration questions can be changed. Metadata (ie. description, license, tags, subject, and publication DOI) is changed directly on the registration overview page. (Read more about Editing Metadata).
Click "Next."

A new draft is created so you can start including your updates.
Go to next step: Entering Your Update
From the My Registrations page
Open your My Registration’s page.
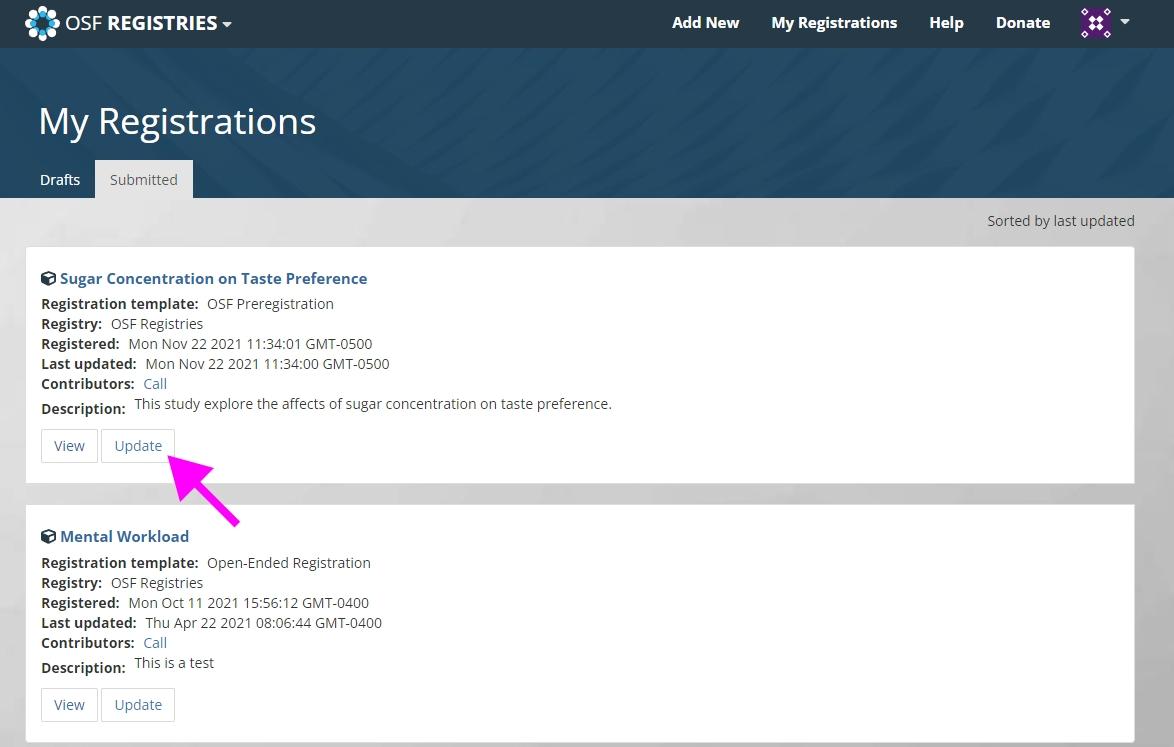
Make sure you are on the “Submitted” section.

Click the “Update” button located on the bottom of the registration card you want to update.
Note: You will only see “Update” for the registrations you are an Admin Collaborator on.
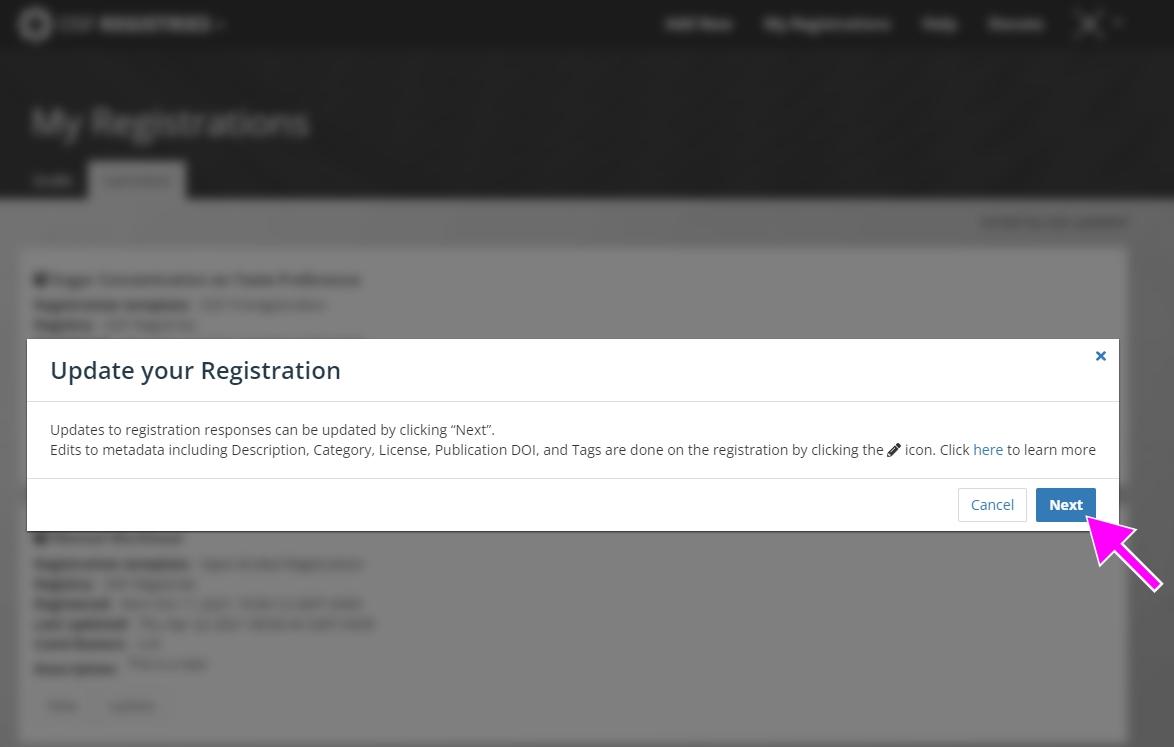
A popup will show informing you that only responses to the registration questions can be changed. Metadata (ie. description, license, tags, subject, and publication DOI) is changed directly on the registration overview page. (Read more about Editing Metadata).
Click "Next".
A new draft is created so you can start including your updates.
Go to next step: Entering Your Update
From the Registration overview page
Open your registration.
Click the dropdown at the top of your registration.
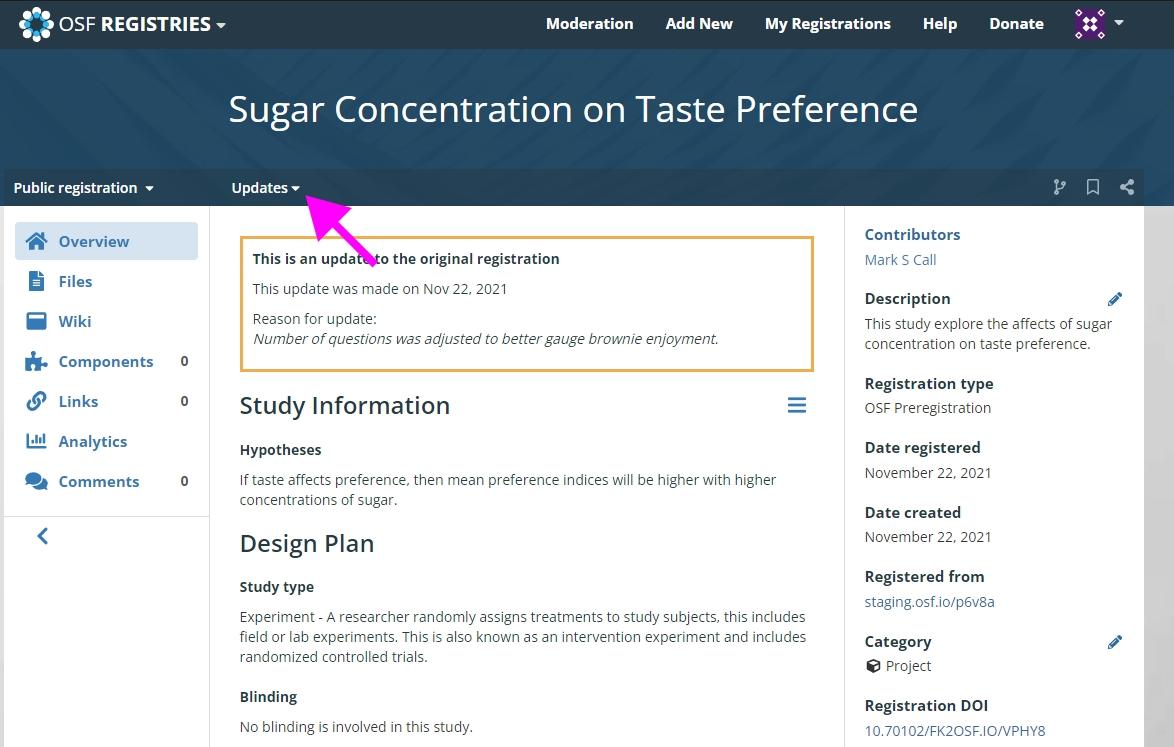
Click “Update”.

A popup will show informing you that only responses to the registration questions can be changed. Metadata (ie. description, license, tags, subject, and publication DOI) is changed directly on the registration overview page. (Read more about Editing Metadata).
Click "Next".

A new draft is created so you can start including your updates.
Go to next step: Entering Your Update
This Article Is Licensed Under CCO For Maximum Reuse.