Upload files (OSF Projects)
This article is licensed under CC0 for maximum reuse.
Each project and component can have its own set of files, allowing you to organize your files into categorical or hierarchical groups, like datasets or having multiple studies within the same research project. Each file has a unique, persistent URL so that it can be cited or linked to individually.
Individual files uploaded to OSF Storage must be 5GB or less. Larger files can be stored in an add-on.
In this article:
Files interface
Start by clicking on the files tab at the top of your project page:

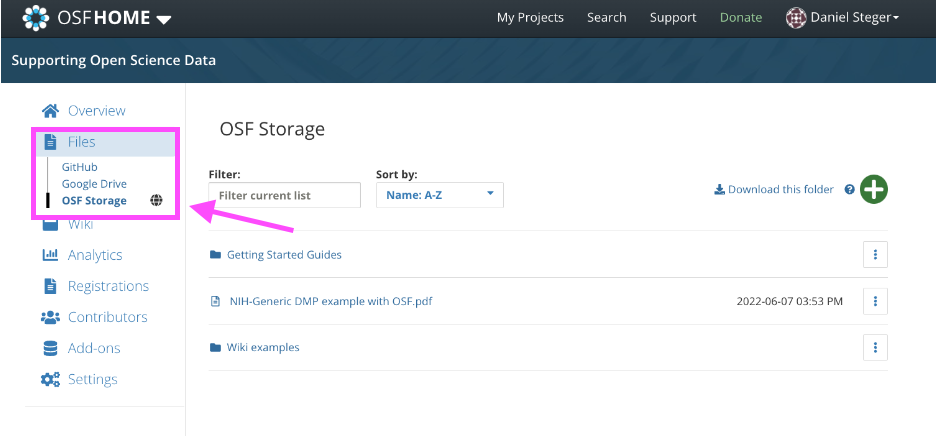
The "Files" page will appear.

Select a storage provider (e.g. OSF Storage, Dropbox, Google drive, etc.) on the toolbar on the left-hand column. The currently selected storage provider is bolded:
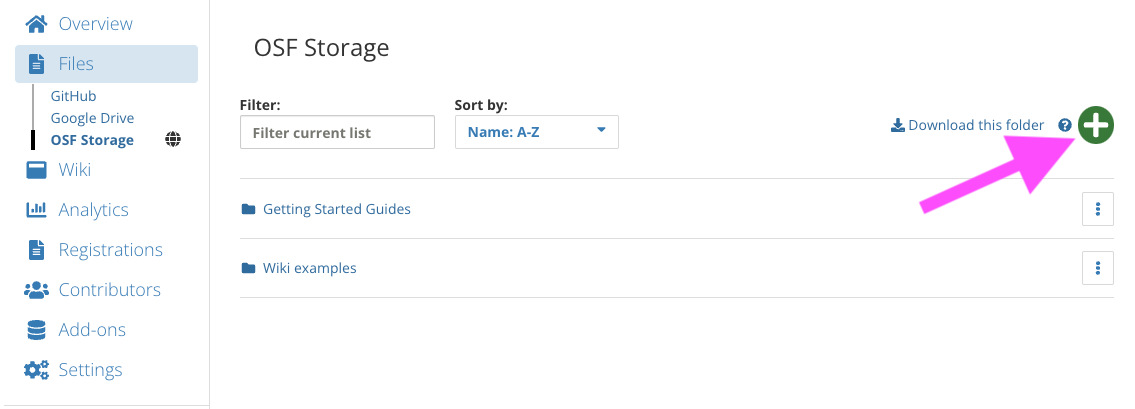
Click the green (+) button
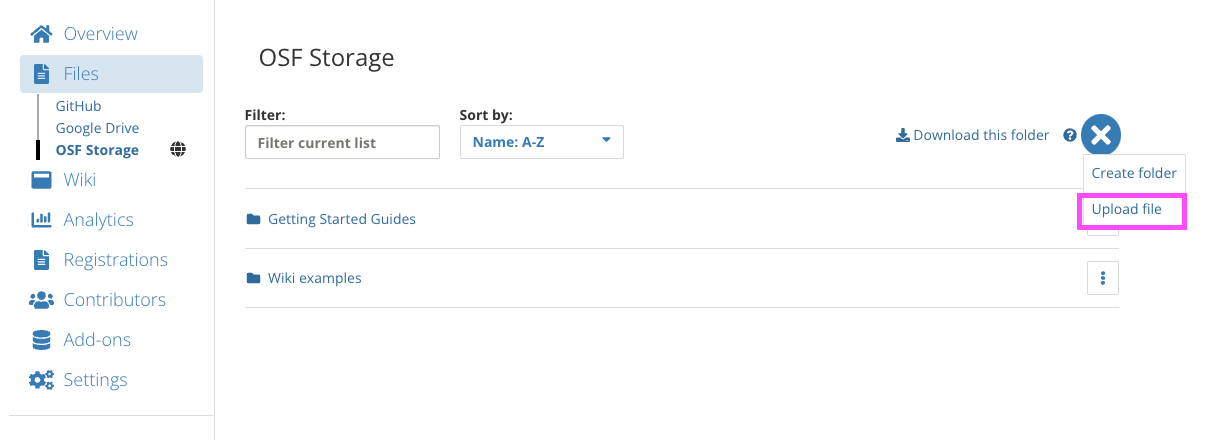
Click “Upload file”
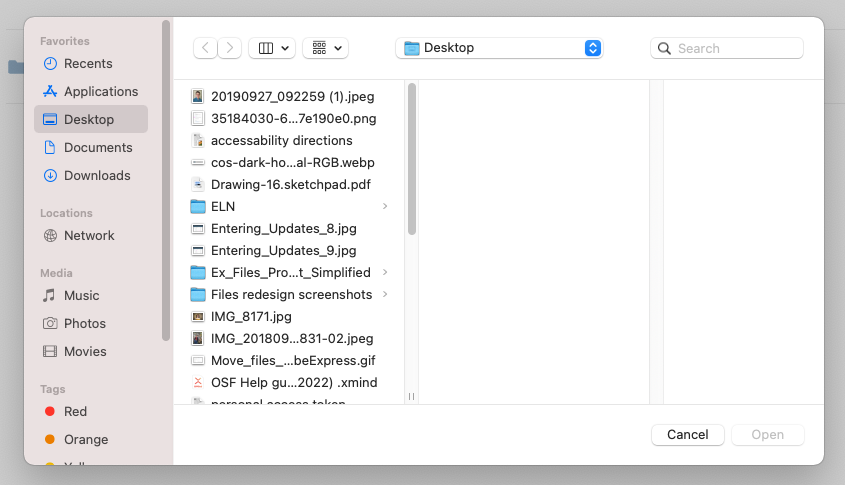
Select the file(s) from the dialog box.
Drag and drop
Or, drag and drop the file(s) from your computer into the storage provider.

The file(s) will be added to your project.
Project interface
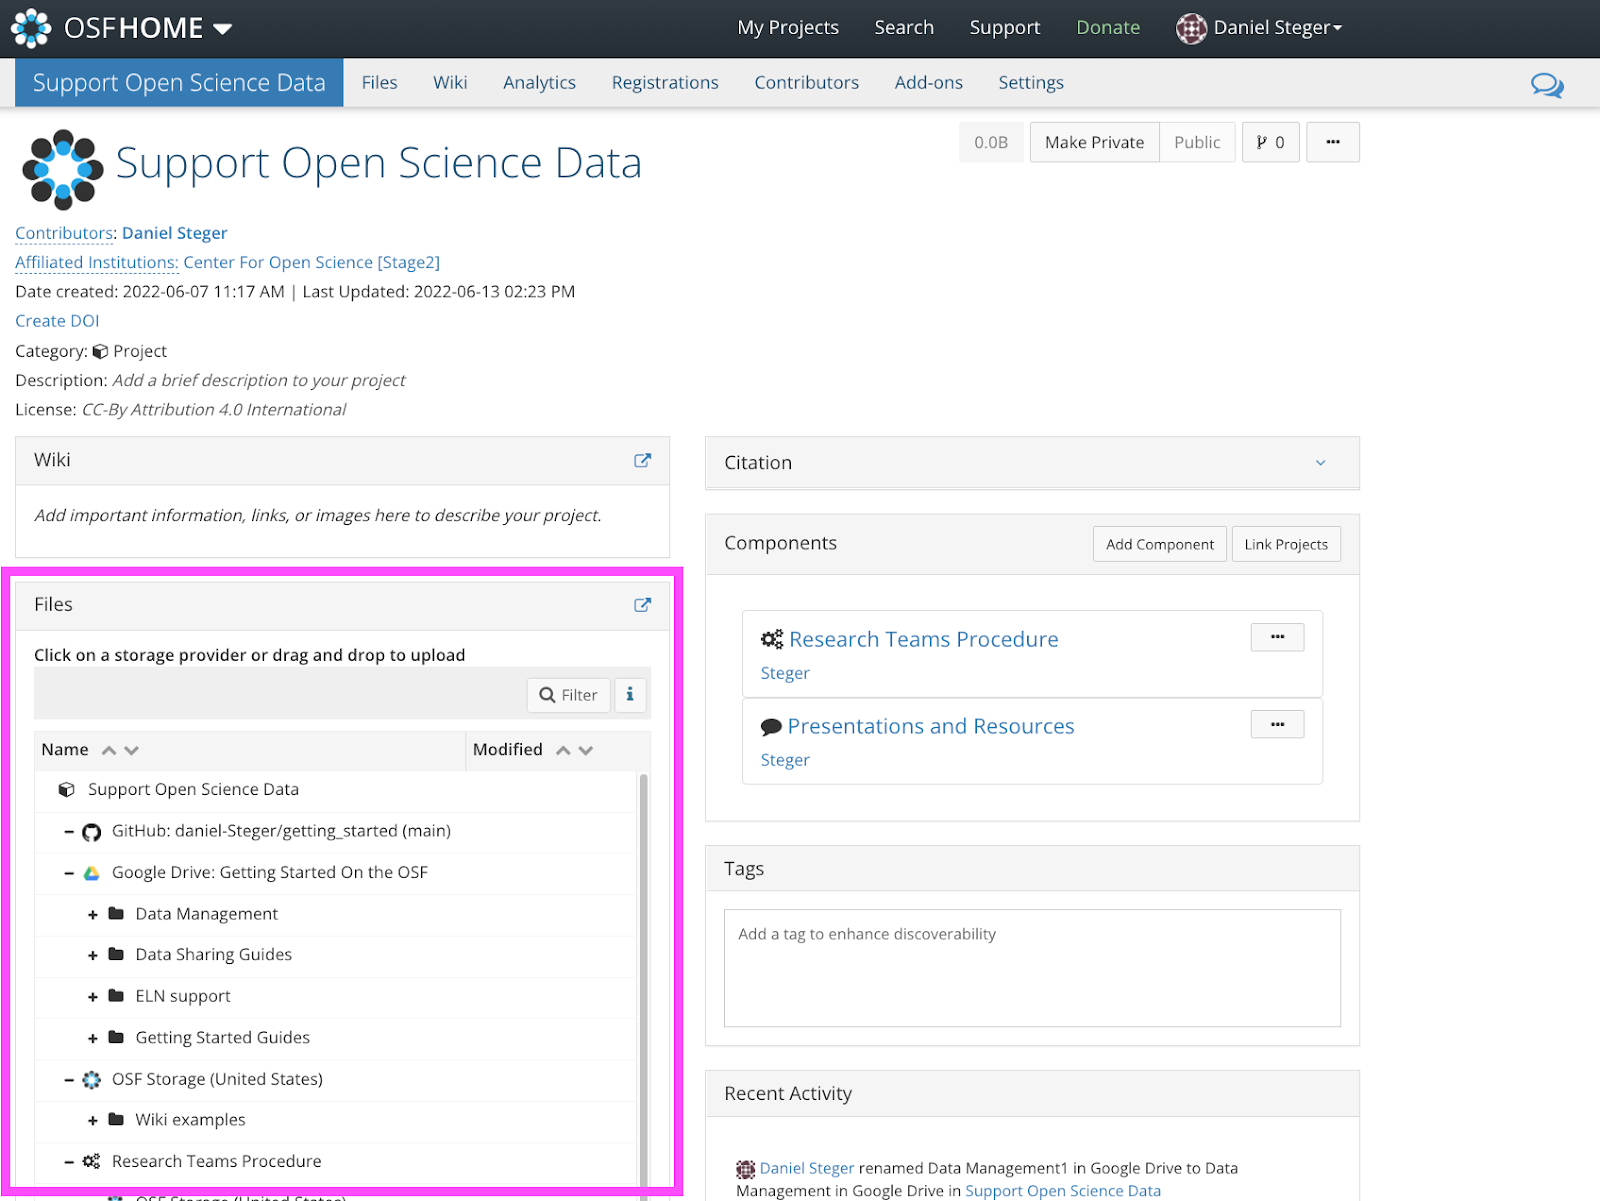
Upload Button
Starting with your project interface (screenshot above),
Upload files by selecting a storage provider (e.g. OSF Storage, Dropbox, Google drive etc.).

Select the Upload button from the toolbar
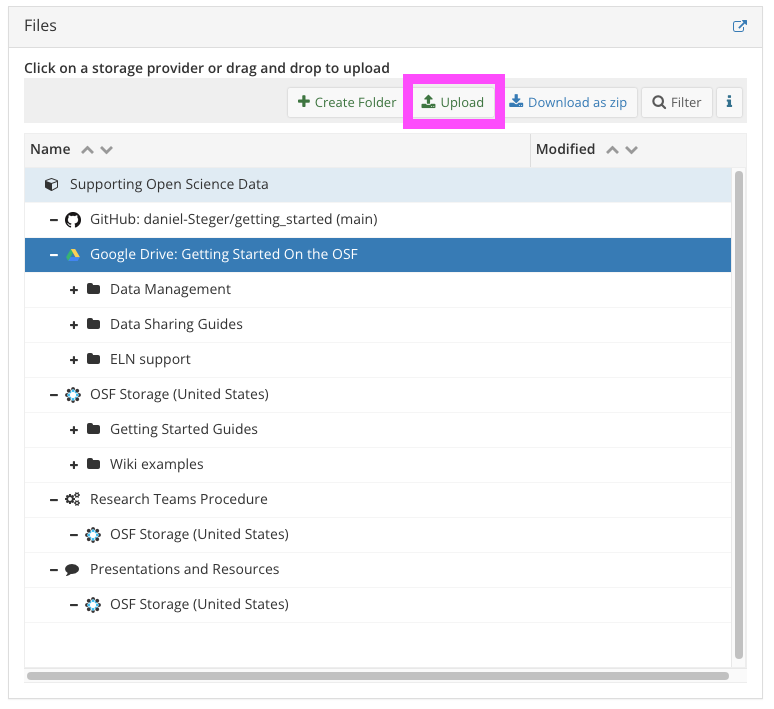
Select the file you would like to upload from the dialog box. 
Drag and Drop
You can also drag and drop files into your file tree.
